Configure a rail track
You use the Rail Track form to define the track name, adjacent stack block, display order, prestage group, track width, spot length, and offset. In addition, if your terminal uses optical character recognition (OCR) software, you can specify the external pocket number associated with the track.
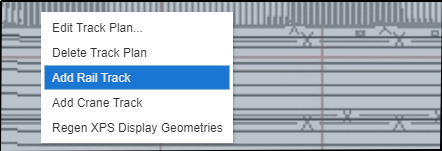
When you right click as described, you can select Add Rail Track from the menu that appears. However, the form does not open until you draw the track polygon and double-click the origin point to close it. Once you double-click, a dialog appears asking if you want to add a new or and existing track. Choose 'New' to open the Rail Track form. (If you choose 'Existing', the Place Rail Track form (on page 1) opens instead.) For more details, see Steps to configure the track plan in the Yard Editor (on page 1).
Before you begin:
Before you can add a rail track, you must have configured the track plan in the Yard Editor (on page 1).
To add a relative rail track:
-
Right-click within a track plan and select Add Rail Track.
-
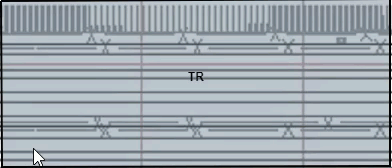
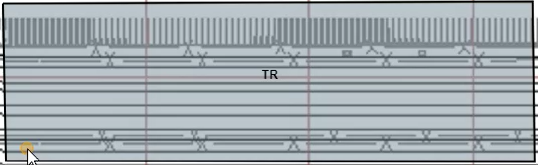
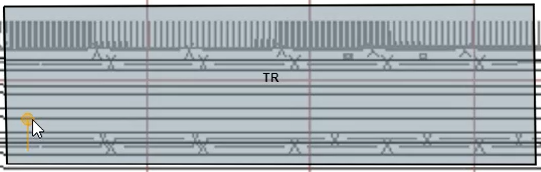
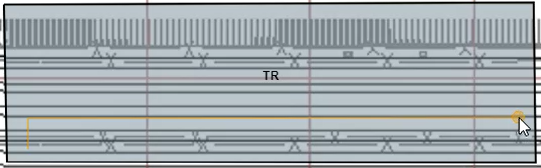
Click on a point within the track plan and then click on the remaining points to create the perimeter for the rail track. Double-click the last point to complete the shape.
-
-
-
-

-
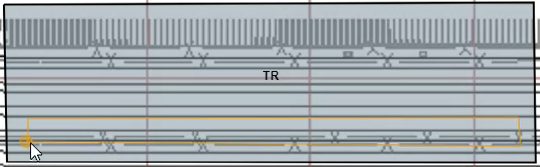
The Add dialog displays. You can use this to create a new rail track or add to an existing crane track.
-
In the Add dialog, click New.
The Add Rail Track form displays.
-
On the General tab:
-
Enter a Name that uniquely identifies the rail track within the track plan. You can enter up to 3 characters.
Generally, the name of the rail track corresponds to the track's sequence in the rail yard.
The XPS client displays the rail track Name in the Track Plan View as an oval label:
at the end of each track
in railcar scan views
in railcar section views
-
Enter the Track Width in meters.
The maximum track width allowed is 2 meters.
The General tab on the Rail Track form also displays the following optional fields.
Fixed Rail Track
You can create a fixed rail track only if you have defined a fixed track plan. To define a fixed track plan, ensure that in the Track Plan form (on page 1) the Spots Relative check box is not selected for the track plan.
For a fixed track plan, the Rail Track form displays two tabs:
To add a fixed rail track:
-
On the General tab, enter the information as specified in the procedure above.
-
Enter a Name that uniquely identifies the rail track within the track plan. You can enter up to 3 characters.
Generally, the name of the rail track corresponds to the track's sequence in the rail yard.
The XPS client displays the rail track Name in the Track Plan View as an oval label:
at the end of each track
in railcar scan views
in railcar section views
-
Enter the Track Width in meters.
The maximum track width allowed is 2 meters.
-
Enter the Spot Length in meters. This enables N4 to display the individual spots when you zoom in.
-
Enter any optional information, as listed in the table above.
-
In the Display tab, enter the following optional information:
-
Track Top Offset: The distance, in pixels, of the top line of the track from the uppermost border of the track plan.
-
Track Width: The width of the track, in pixels.
-
Spot Left Offset: The distance, in pixels, of the left line of the spot from the leftmost border of the track plan.
-
Click Save.
Notes
-
If you are using a relative track plan, do not clone the existing rail tracks to create new ones. If you do this, the resulting track does not display as expected in XPS because XPS superimposes it above the source display rectangle (even though the N4 track plan displays as expected).
-
When you edit a rail track, the following fields are not populated: Track Width (meters), Track Width (pixels), Spot Length, Spot Left Offset, and Track Top Offset. These fields are only used for geometry calculations; they are not valid fields of the RailTrack entity in the database and are therefore not saved in the database. From the geometry of the rail track, N4 derives the top offset and bottom offset values and writes them to the yard.nyd file when you apply any changes to the yard.
-
To prevent an error when assigning a rail transfer point in N4 Mobile, the track plan and the rail track should have the same origin side. For example, if the track plan is drawn in a clockwise direction, the rail track should also be drawn in a clockwise direction. You can resolve an origin side mismatch between your track plan and rail track, by using the FLPTRK XPS setting to flip your rail track.
 Yard Models